
This article will cover how to create a payroll export file that can be imported into your payroll software.
Prerequisites
Before reading this article, it may be helpful to first read the articles below.
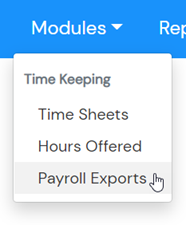
1. Click on Modules and then click on Payroll Exports.
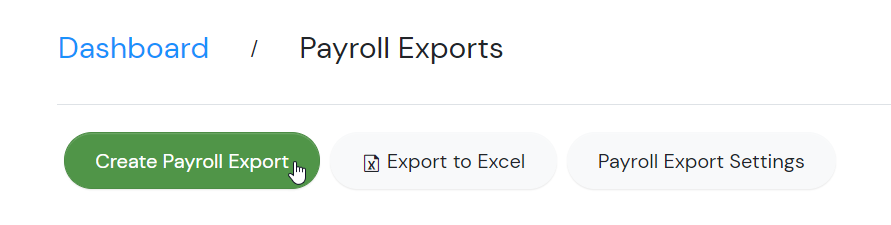
2. Click on Create Payroll Export.
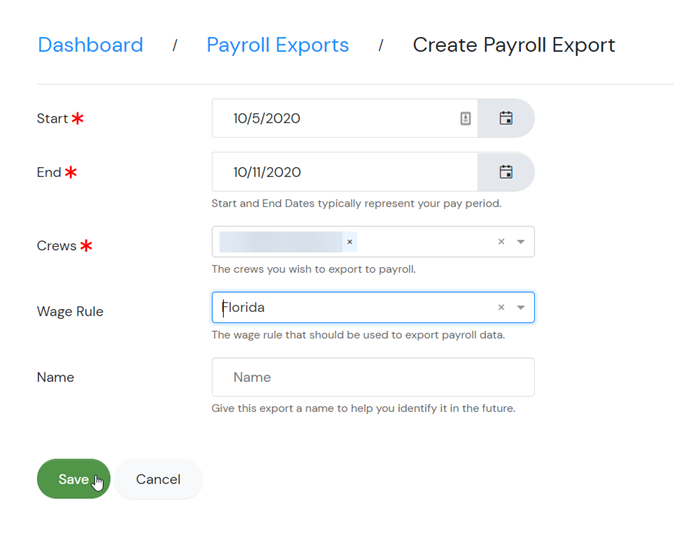
3. Select a Start and End date. (Typically this represents your pay period).
4. Select Crews to be exported. Note: The user may search for a specific crew by entering a crew name in the text box or select all crews by clicking "Select all" in the "Crews" drop-down menu.
5. Select a Wage Rule if needed. Note: If you do not use Wage Rules, this list will be empty and you do not need to select one.
6. Enter a Name for this payroll export batch. This is helpful to later identify the batch but, it is not required.
7. Click Save.
After you click "Save", Time Portal will provide a preview of the Payroll Export along with a validation summary as illustrated below. Although the Payroll Export has not yet been created, the Validation, Summary, Time Sheets, Crews and Employees tabs will present the same information that will be available once the payroll is actually exported.
Note: Time Portal will analyze the Time Sheet information for the selected crews/dates and provide a summary of its findings on the Validation tab as illustrated below. Please review the Potential Payroll Issues article for details.
Once you've reviewed the information on this screen, please click the Continue button to finish generating the Payroll Export.
Once you've generated the payroll export, the export file will automatically be downloaded to your Downloads folder on your computer. If you are using the web browser, Chrome (recommended), the file will also display in the bottom left corner of your browser window.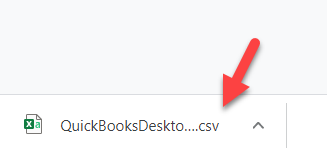
You will automatically be taken to the Payroll History screen at this time. Here you may utilize the screen to view various Hourly Rates, Minimum Wage Rates, Piece Rates, Crews, Crop/ Varieties, Jobs, Locations, and Profiles, which can be viewed by a basic summary or more in depth, by Time sheet, Crew, or Employee.
You have now created a payroll export.
Happy Timekeeping!
Comments
0 comments
Please sign in to leave a comment.